It’s pretty safe to say that the days of printed paper forms and documents are gone (at least for most of us). Everyone wants to go paperless; they email you a form, you print it out and fill in the appropriate areas with a black ink pen, scan it and send it back, right? Well, no. Learn how to create a fillable PDF!
To truly go paperless, we have to know how to turn those forms and documents into fillable PDFs, so that no paper is ever needed. Whether you’re sending them to or receiving them from your clients, you don’t have to be a designer or even have a design department handy to be able to bypass that printer. All you need is Acrobat!
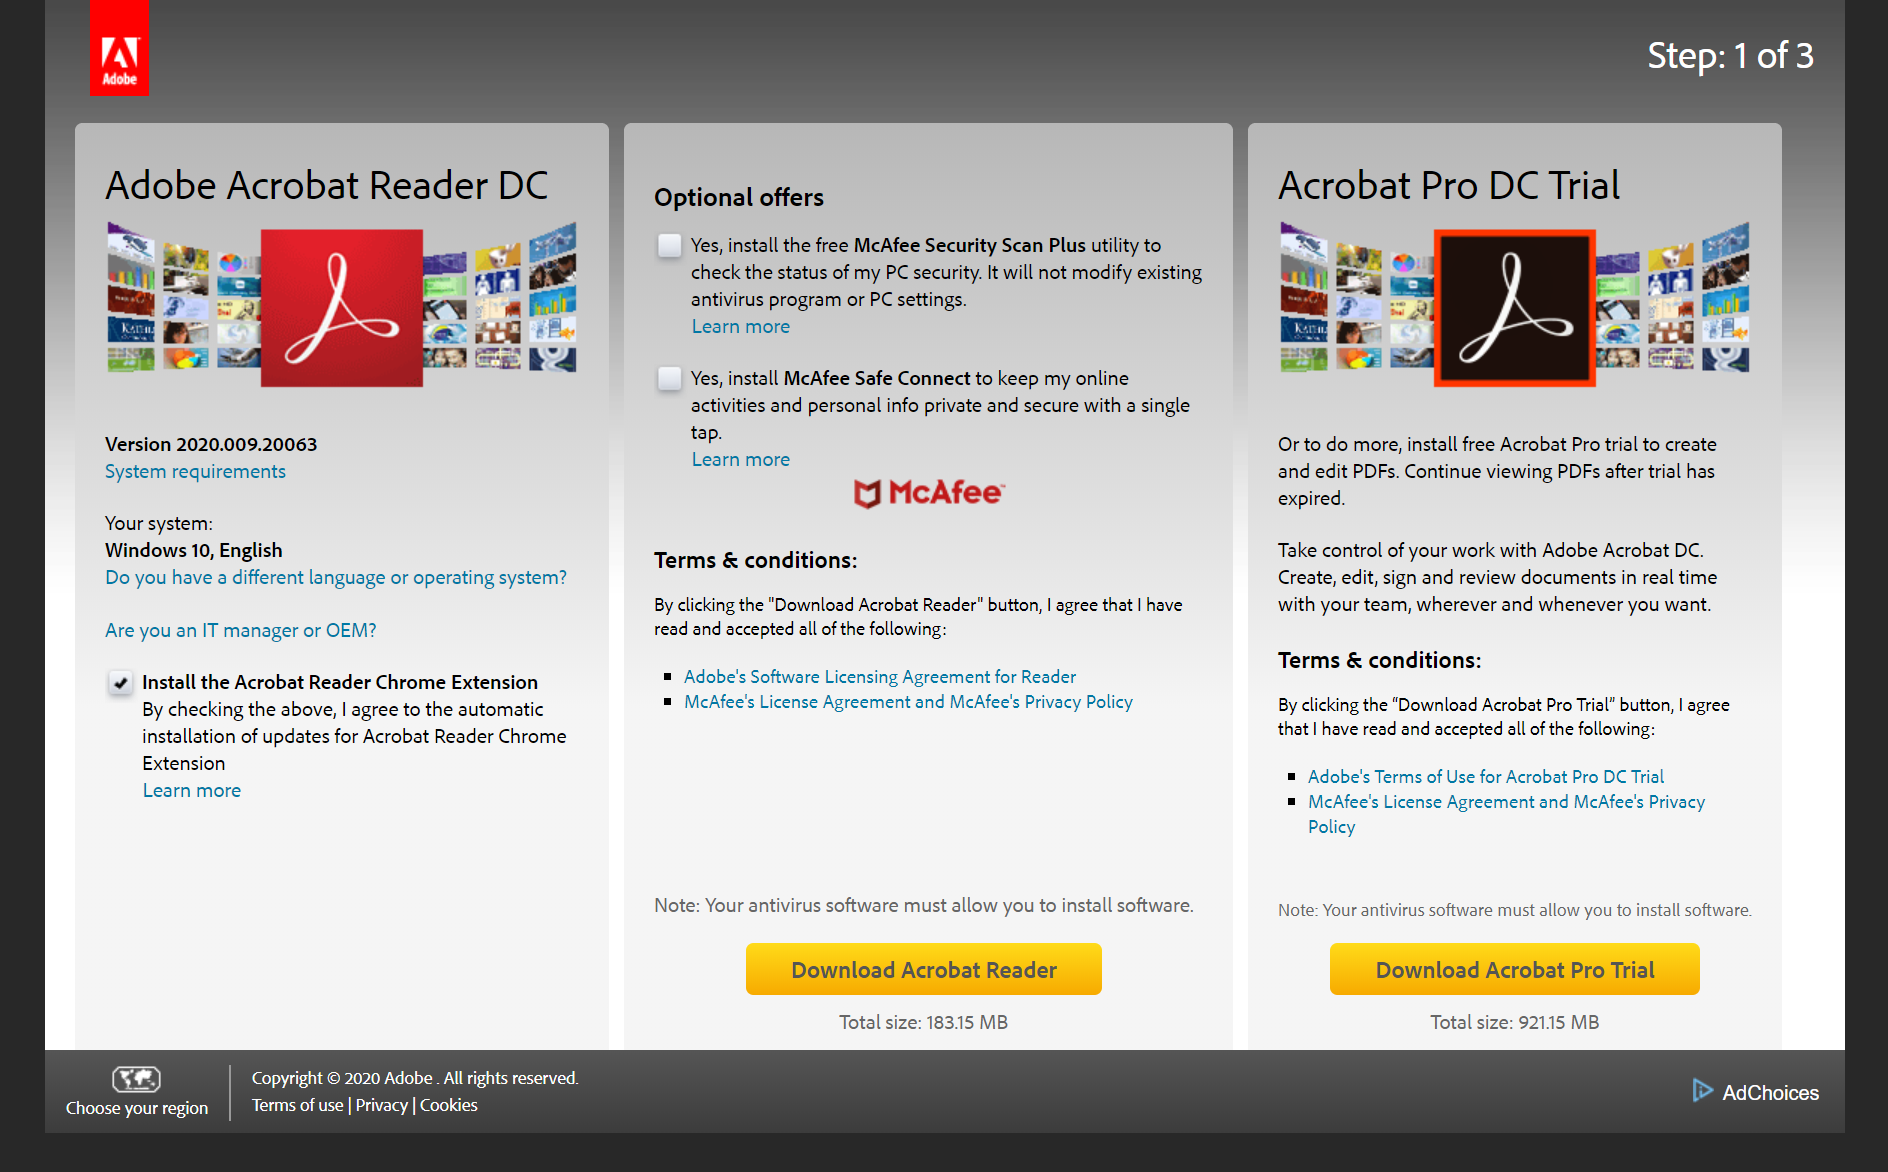
To be specific, you need Adobe Acrobat Reader. And guess what— it’s free! Just click the download button and follow the instructions to download the program to your Mac or PC.

The next step is to open your existing PDF in Adobe Acrobat Reader:
.png)
Now, notice the little blue window that pops up to the right—this automates the filling and signing process. Easy, uh?
Click the Fill & Sign button to the right and choose the You option. (The Others option allows you to request signatures from others, but also requires an Adobe subscription.) And, behold, your PDF is ready to be filled out!
Hover your cursor over the empty fields and you’ll see the blue text boxes appear.
.png)
Click inside the blue text box and add your text!
.png)
You can move or delete your text boxes with the toolbar above it.
Add a check box by clicking on the check in the toolbar at the top and then again in the location that you’d like the checkbox to be.
.png)
Add your signature by clicking the sign button in the toolbar at the top, creating your signature, and placing it in the field where you want it.
.png)
Fill in all the required areas and close the edit window in the upper right.
.png)
You may now save your document to your desktop and send it wherever it needs to go!
Need help creating your own branded forms or documents? Ask us about our design services!
Learn More from Storm Cloud Marketing


